External Booking is an ption that adds a Book Now button that redirect to 3rd party website. To enable this feature simply add the field for that to listing submission form using Listeo Editor -> Submit Form, find ‘External Booking link’ field.

Search through our knowledge base or submit a ticket to get answers 🙂
External Booking is an ption that adds a Book Now button that redirect to 3rd party website. To enable this feature simply add the field for that to listing submission form using Listeo Editor -> Submit Form, find ‘External Booking link’ field.
To disable private messaging feature first disable send message button in Listeo Owner Widget

then disable messages page in Listeo Core > Pages

Disable “Optimized DOM Output” in Elementor -> Settings -> Features -> Stable Features -> Optimized DOM Output (set it to Inactive)

It’s claimed to be stable feature but it causes some sort of problems even with default Elementor widgets.
Remove default background image, then select section which contains search form and add video background

Guests can book without being logged in. You can turn this feature on/off in Listeo Core → Booking

Result:

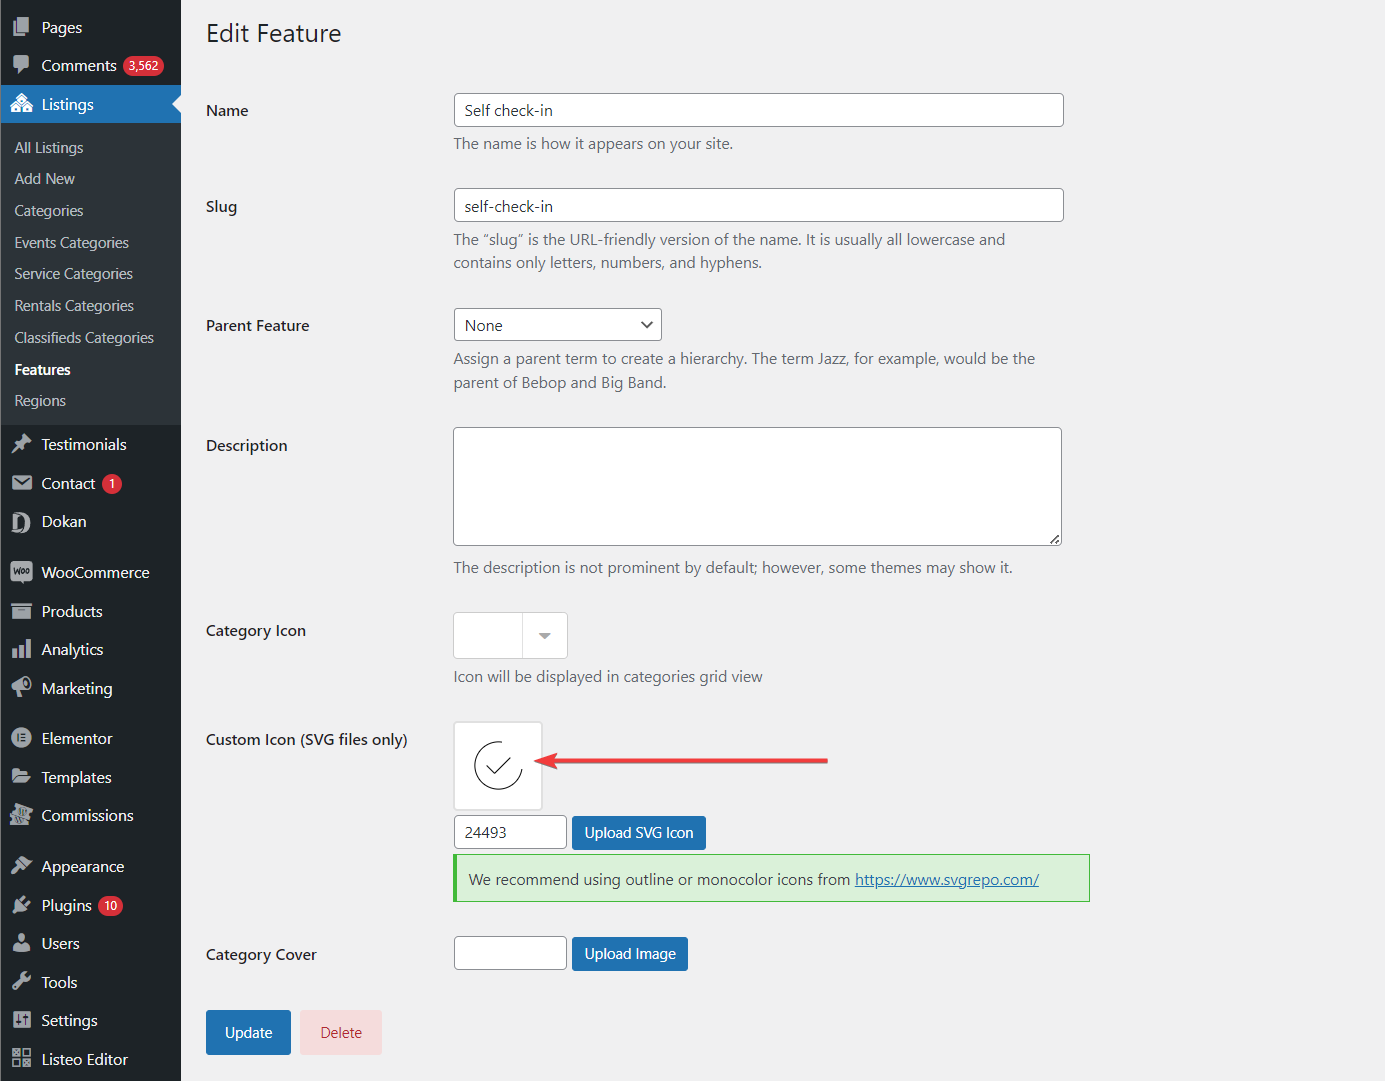
If you encounter issues with an SVG icon not appearing correctly, you need to opt for a different icon.
This problem often arises when the selected icon has hardcoded white background or contains other elements that conflict with the theme’s functionality which adjust the colors of SVG icons to match with the default theme color settings.
We recommend https://www.svgrepo.com/ icons library. Use only outlined and monocolor icons.
1. Try to enable this option in Listeo Core / Registration

2. If that did not help please reconfigure / disable your caching plugin – it works too aggresively.
If you’d like to use other font than Google Font you can upload your own. Use this plugin https://wordpress.org/plugins/custom-fonts/
and then add this code in Customize → Additional CSS:
body,p,a,h1,h2,h3,h4,h5,h6 { font-family: "Your Font" !important!; }
Don’t forget to replace “Your Font” with font name you want to use.
Go to WordPress dashboard and Listings. Find listing you want to edit and click “Quick Edit“, select new author from the list and click “Save“.

